Making your own printed circuit board, 2
When developing your own printed circuit board you will need chemicals. The chemicals will allow you to develop the board and etch the exposed copper off of the board. You can buy the chemicals from companies that specialize in printed circuit board supplies, or you can contact a chemical supply store where you will probably get them cheaper.
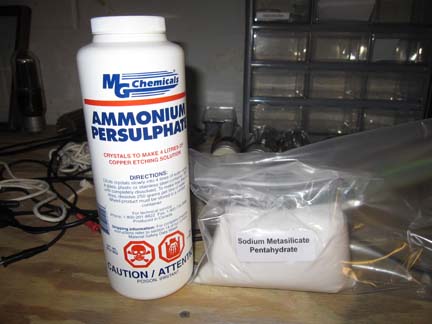
When you are done burning the image for your printed circuit board you should see faint yellow discolorations on the board. Any place the light hit will disolve off of the photoresist board when you develop it in an alkali solution. The part that was shaded by the artwork will resist coming off. I use sodium metasilicate pentahydrate for my developing solution. You can use NaOH, but you have a greater chance of overdeveloping and etching off everything.
I mix about 50g of the powder in 1 liter of water. You can use less; it will just take longer. Put the board in the solution and using a foam brush work the solution over the board. You will see the photoresist come off. When it is off take the board out right away to prevent over-developing and wash it off in cold water.
You now take the ammonium persulphate and put about 200g in 1 liter of water and fill the agitating tank.
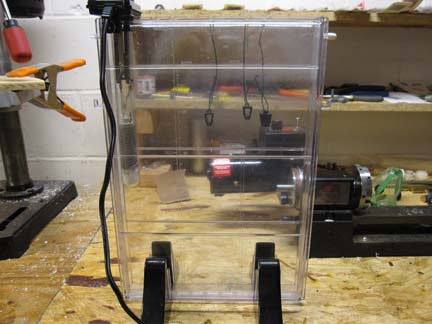
The tank has a heatig element and a bubbler gets connected to agitate the solution around the board, which will be suspended by the wires on top. This can take 15-30 minutes to etch off the exposed copper.
When this is done wash off the board. You can now drill your holes and mount your components. Some people will wipe the remaining photoresist off with acetone and coat the copper artwork with Tinnit (it deposits tin on the copper). I don't bother; I leave the photoresist layer. After my components are mounted and soldered I spray the back with Shellac or use some type of varnish.
If you like you can get the images of the components on the opposite side to make it easier to lay out your pieces. I print out the mirror image of the componets on Toner Transfer Paper. It is a waxy paper that does not allow the toner to bond to it. Place the boards component surface facing up and put the toner transfer paper on top. Take a hot iron and work the paper on the board without steam. Once the toner is transfered you can spray some varnish on top to preserve the image.