Making your own printed circuit board
This is a supplemental guide for the IGBT shunt controller. Some of you may want to make your own printed circuit board, and this tutorial will help guide you. I use a positive photoresist method. You create your artwork; you print it on a transparency; finally, you burn the image on a pcb with a photoresist layer. Anything the light hits will wash away in the developer, leaving bar copper on the board. You can then etch this copper away in the etching tank.
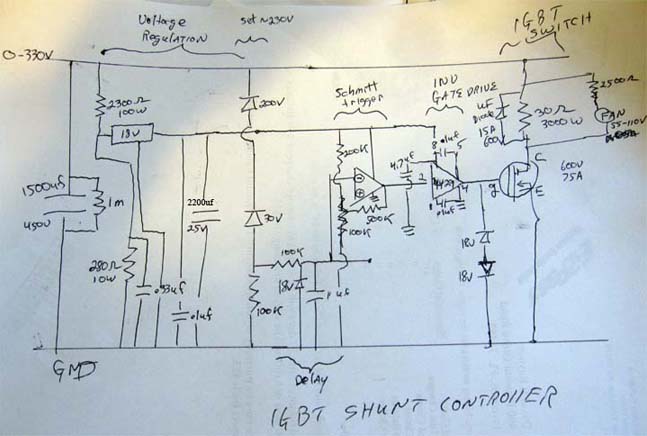
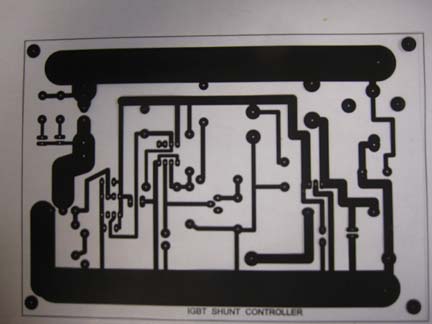
First, we need our schematic. I created an IGBT shunt controller for the wind turbine. After testing it on a breadboard, I used a PCB program to lay out the artwork. This is what I got after printing it on a transparency. Make sure you print the mirror image of your artwork.
You then take your photoresist printed circuit board and lay it on a block in a dimly lit room. Make sure you have the green photoresist layer on top. Lay the mirror image on top and then lay a sheet of glass to keep it perfectly in place. I use a 27w/2700k fluorescent bulb. You will have to experiment with the height, but at about 6-7" I leave the light on for 11 minutes.
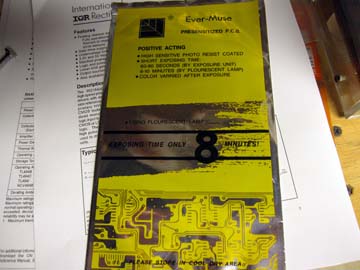
The board is protected in the foil wrap. I use the Ever-Muse boards. They come single and double-sided.
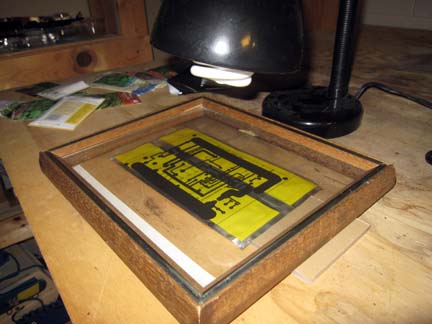
This is the setup for burning the image. I have the board still wrapped in the foil. If this was real then the foil would be removed.