Stator Mold
My stator mold is a little more involved in that I want to keep the center of the coil open to allow better cooling. The basic mold is the same as described on Otherpower. It was made from an 18"x18"x1/2" piece of plywood bases. There is an identical piece of plywood on top with a 15.5" circle cut out. The circle is tapered to allow the mold to pop out easier. The floor has an 8" and 12" circle drawn out. There is a 5.75"x1/2" island in the center. In the dead center I have threaded and glued a 1/2" allthread rod. I then marked out 9 equally spaced lines for the 9 coils. Finally, I cauked the edges and painted the surface with epoxy paint.
Here is what I did next. I want to keep the inside of the coils free of resin, so I cut 9 rectangular blocks of 1/2" plywood to just fit inside my coil. I then took a washer and traced around it to round the corners; then, I used a bandsaw to make the cuts.
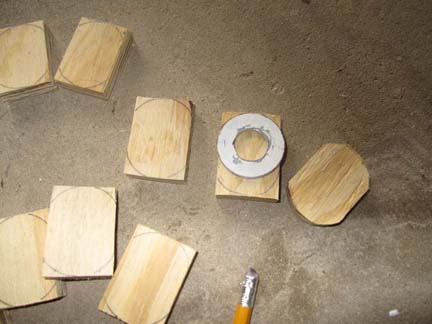
I tapered the edges for each of these pieces with a table grinder. I then cut out my fiberglass mat (or cloth) and marked the 9 lines for the coils. I traced around my block and then cut out a hole.
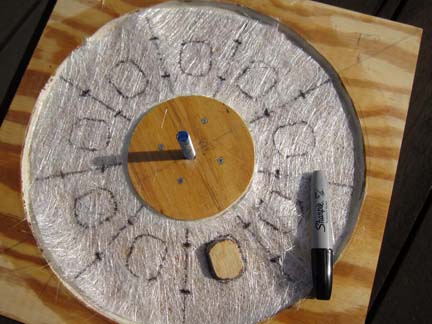
I checked the placement with a coil to see how it looked. The blocks are cut so there is room for close to a 5/16" thickness of resin.

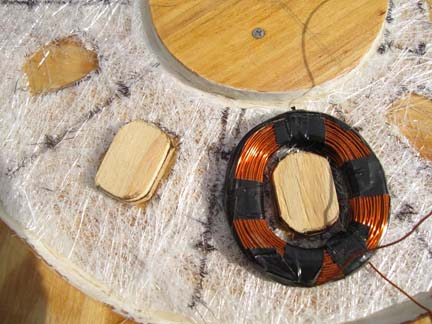
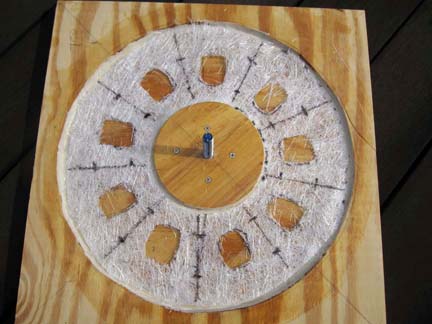
It looked good, so now I took some Gorilla glue or Superglue and bonded the pieces to the mold.

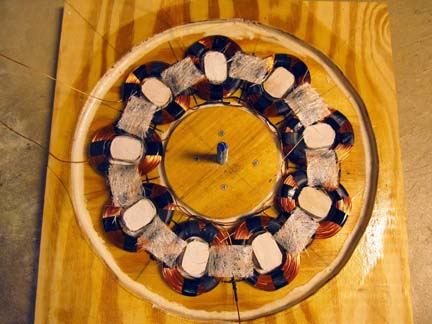
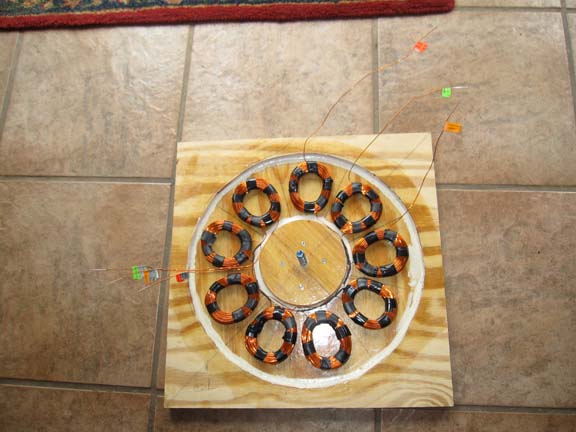
So, here is the original mold and the coils. Notice how I have color-coded the phases. The wire is 18g with 150 turns/coil. I tested it with my N48 magnets and got 14.8v @ 150rpm, which should give me a good starting voltage for the inverter in low winds, but not get too high at 500-600rpm if I ever go that fast. They are connected in a Star configuration. The common wires connect to a 16g piece which I will run outside in case I need to use it.
Here is the stator ready for casting. I just have to mix the resin with marble dust, lay the mats and get it done.