Marine Epoxy and Magnets
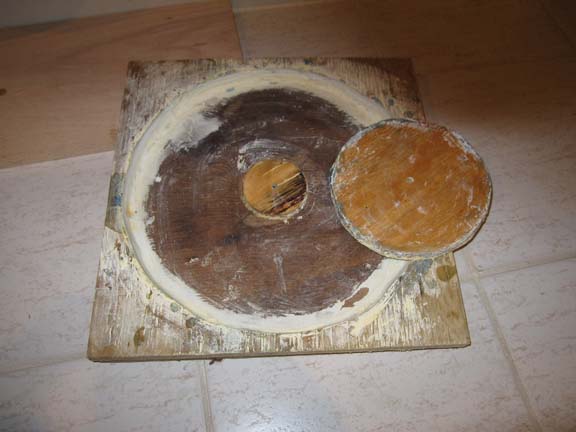
Otherpower covers the creation of the magnetic rotor very well. I made a mold out of plywood and sealed the joints with cauking before wiping it down with marine two-part epoxy paint. Mas Epoxy has worked very well for me. I used the low viscosity resin for the mold. I wiped the mold with autowax so the rotor would pop out. I also made sure I tapered the edges so the epoxy mold would not get locked in place.
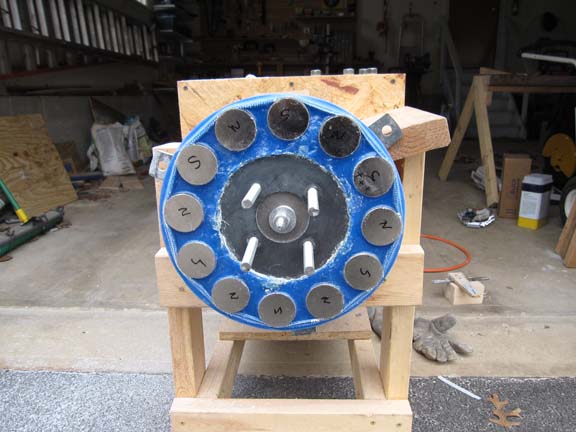
The rotor is a 12" steel disc 1/4" thick. The magnets are N48 2" x 1" discs. I used an aluminum template to position them and some superglue to temporarily hold them in place. I poured two part epoxy into the mold with the rotor. I pushed in some fiberglass mat around into the mix. There is fiberglass tape around the edge that goes from the steel disc to the top of the magnets. I must have wrapped about 10 layers of tape. I dyed the epoxy with some marine resin pigment.
After the mold was dry I popped it out and mounted it onto my test rig. I used this as a lathe and rounded out the jagged edges.
The mold is made from two pieces of 3/4" plywood. The base is 16"x16". The circle is 14". The inner pieces is 1/4" thick and 2" in diameter for the steel rotor to fit. The disc is 6.5" and 1/2" thick. I painted the mold with epoxy paint after cauking the perimeter; I then used autowax so the finished rotor would slip out. The inner 6.5" disc is tapered.